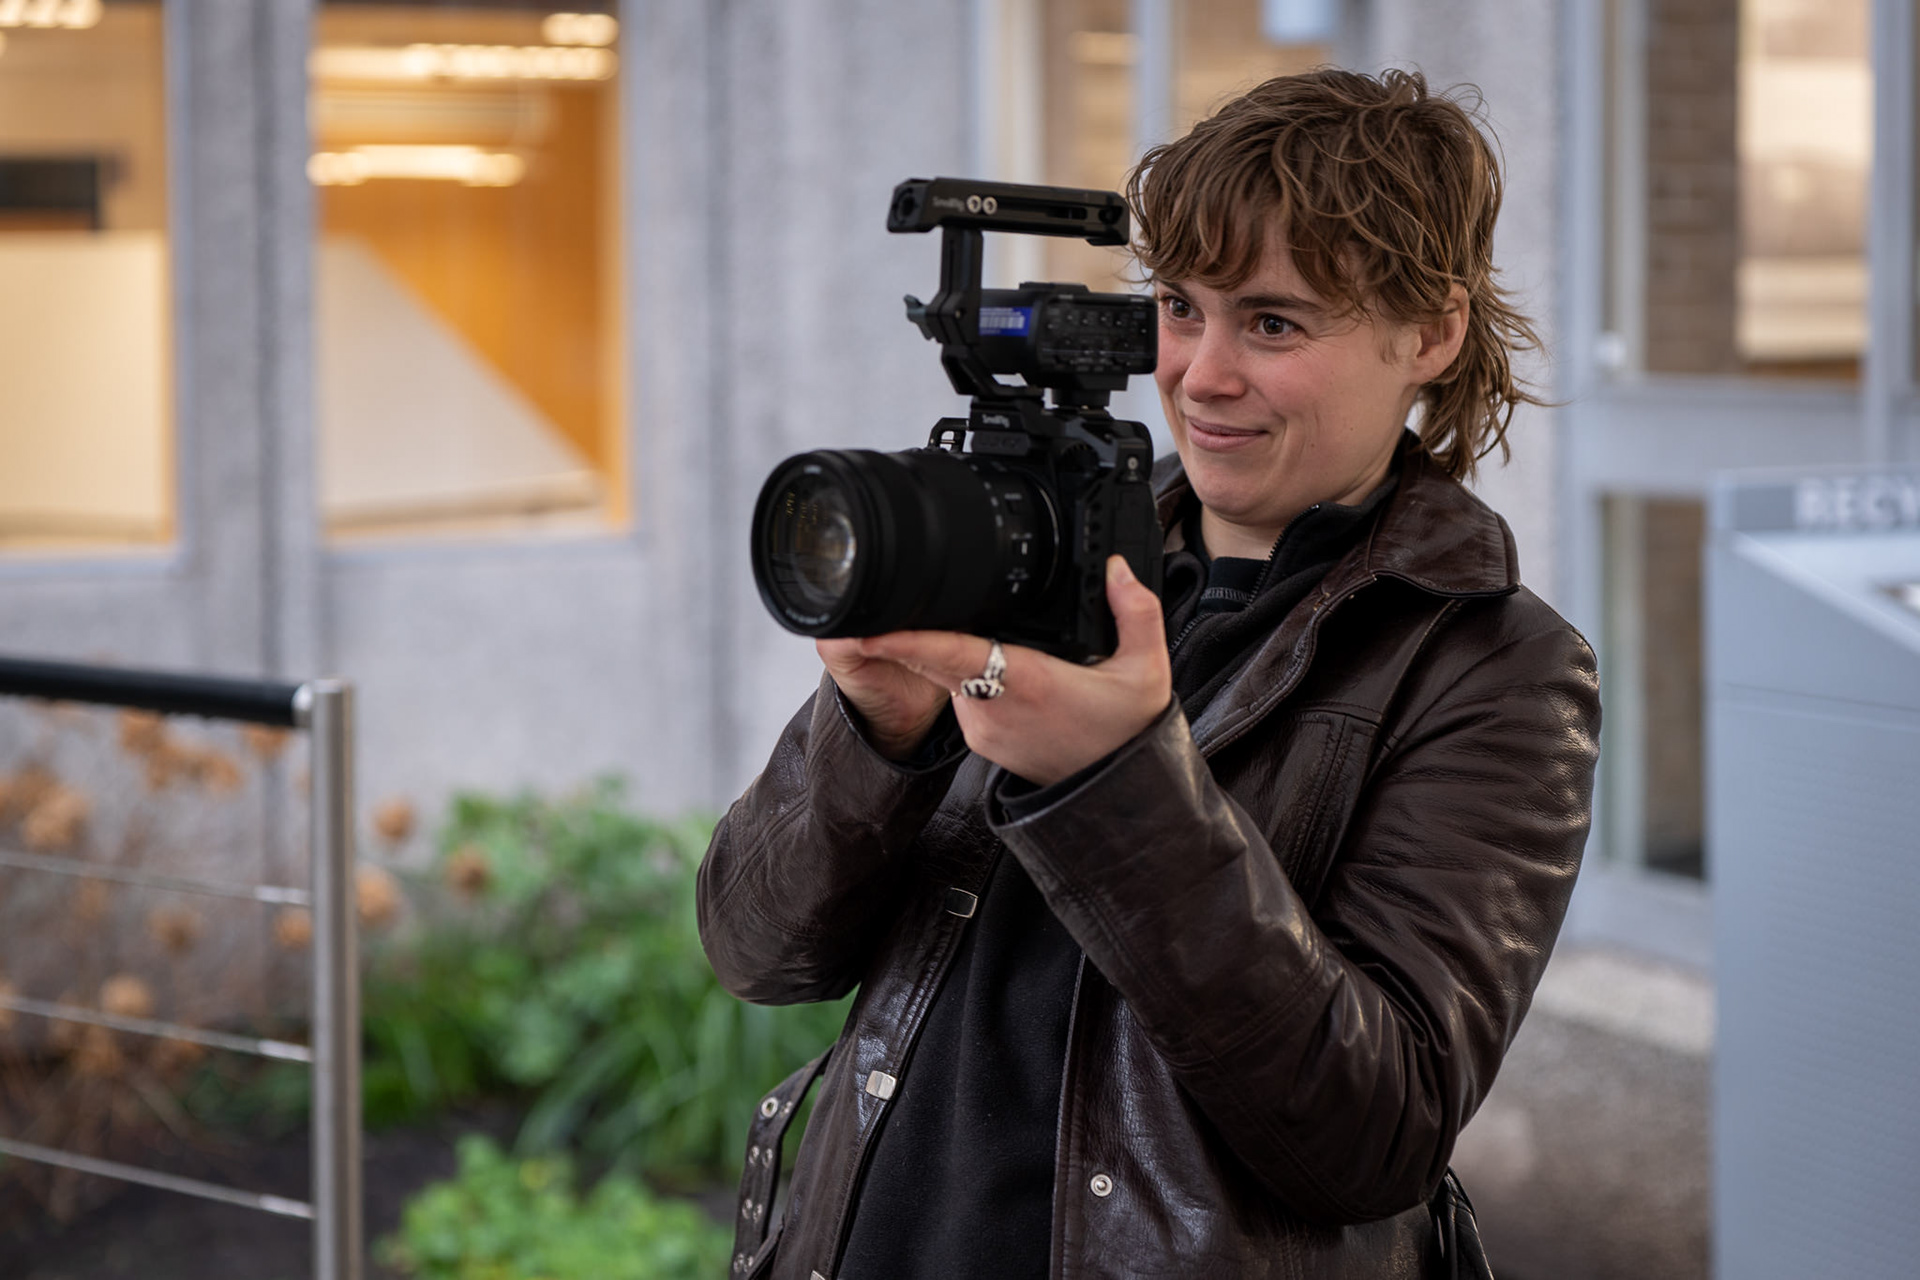
A smartphone is optically quite limited and doesn't offer many of the creative possibilities that a camera with a larger sensor and interchangeable lenses might. However, it is worth clarifying a few principles and terms to do with focussing, zooming and the quality and colour of the light.
Exercise for next tutorial:
IMPORTANT: Before you undertake any practical exercise you must fill, sign and return to the course giver the CW1 form you find on Blackboard. Your subjects also need to sign a consent form for each exercise.
Collaboration and elicitation: Create a series of collaborative portraits (up to 5), with the same person you shot for exercise 1 or someone else in your household/support bubble. Ask what kind of photo they’d like, show them the images you made of them, do a mini-interview about how they feel (mis-) represented.
Create a simple Web Page in Adobe Creative Cloud Express and upload the images there with a brief text. Submit the link on Blackboard 24 hours before next week's tutorial.
Here I tapped on the book to focus close
Here I tapped on the bookcase to focus on the background
A camera with a larger sensor allows you to get a background more dramatically out of focus
Focus
With a smartphone, most things appear in focus all the time, because of the small size of the sensor. However, it is worth selecting manually what within the image the camera will focus on, because even images that appear all sharp on a screen can reveal some out of focus softness once enlarged. Most phones allow you to focus by tapping on the element you want to be sharp. Try the following: aim your phone at something a few inches away, for example on a table in front of you, and tap on it. Then shift the phone and tap on the background. You should see a visible shift of focus, and the element in the foreground go from sharp focus to blurry.
This is the frame at 1.0x zoom
This is zoomed in 4.0x on my smartphone. You can see how details get soft and there's a patchy pattern all over the image

Compare how much cleaner and sharper this image is, where I just moved in closer
Zoom
While you can zoom with a smartphone, I don't recommend it because, due to the lack of optical zooming, you are effectively simply cropping an existing image. What the camera does is to crop the image, thereby reducing the number of pixels, and then to artificially increase them back to full resolution. In the process, detail is lost and the quality of the image deteriorates significantly. My recommendation is, as much as possible, to 'zoom using your legs' or in other words to get closer rather than to use the zoom function.
In case you have a smartphone with multiple lenses, though, you could switch to a tighter focal length without any loss in quality.

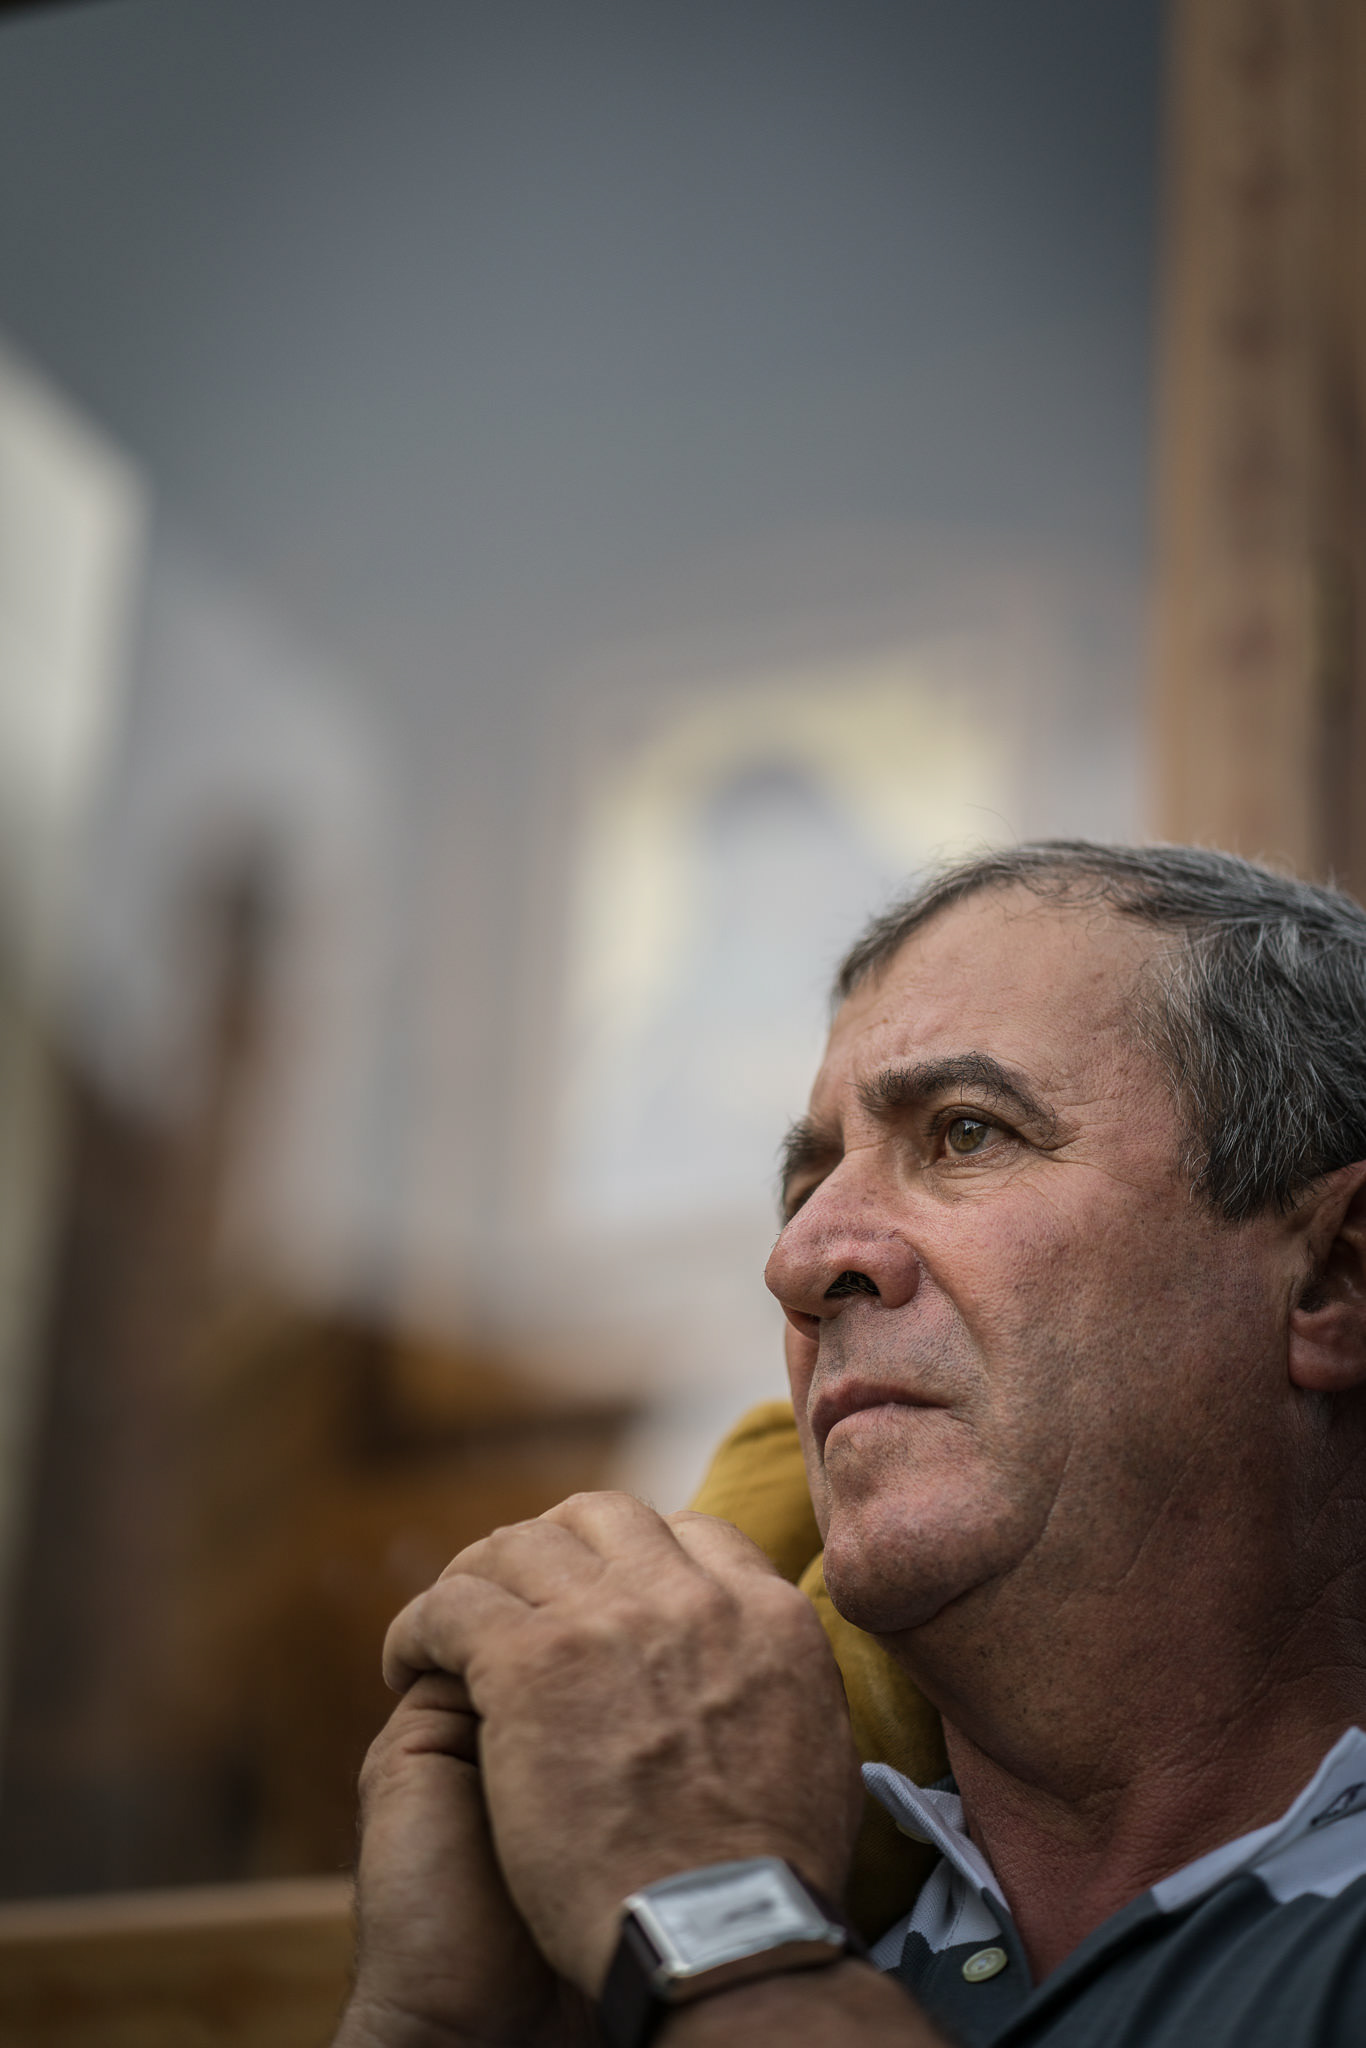
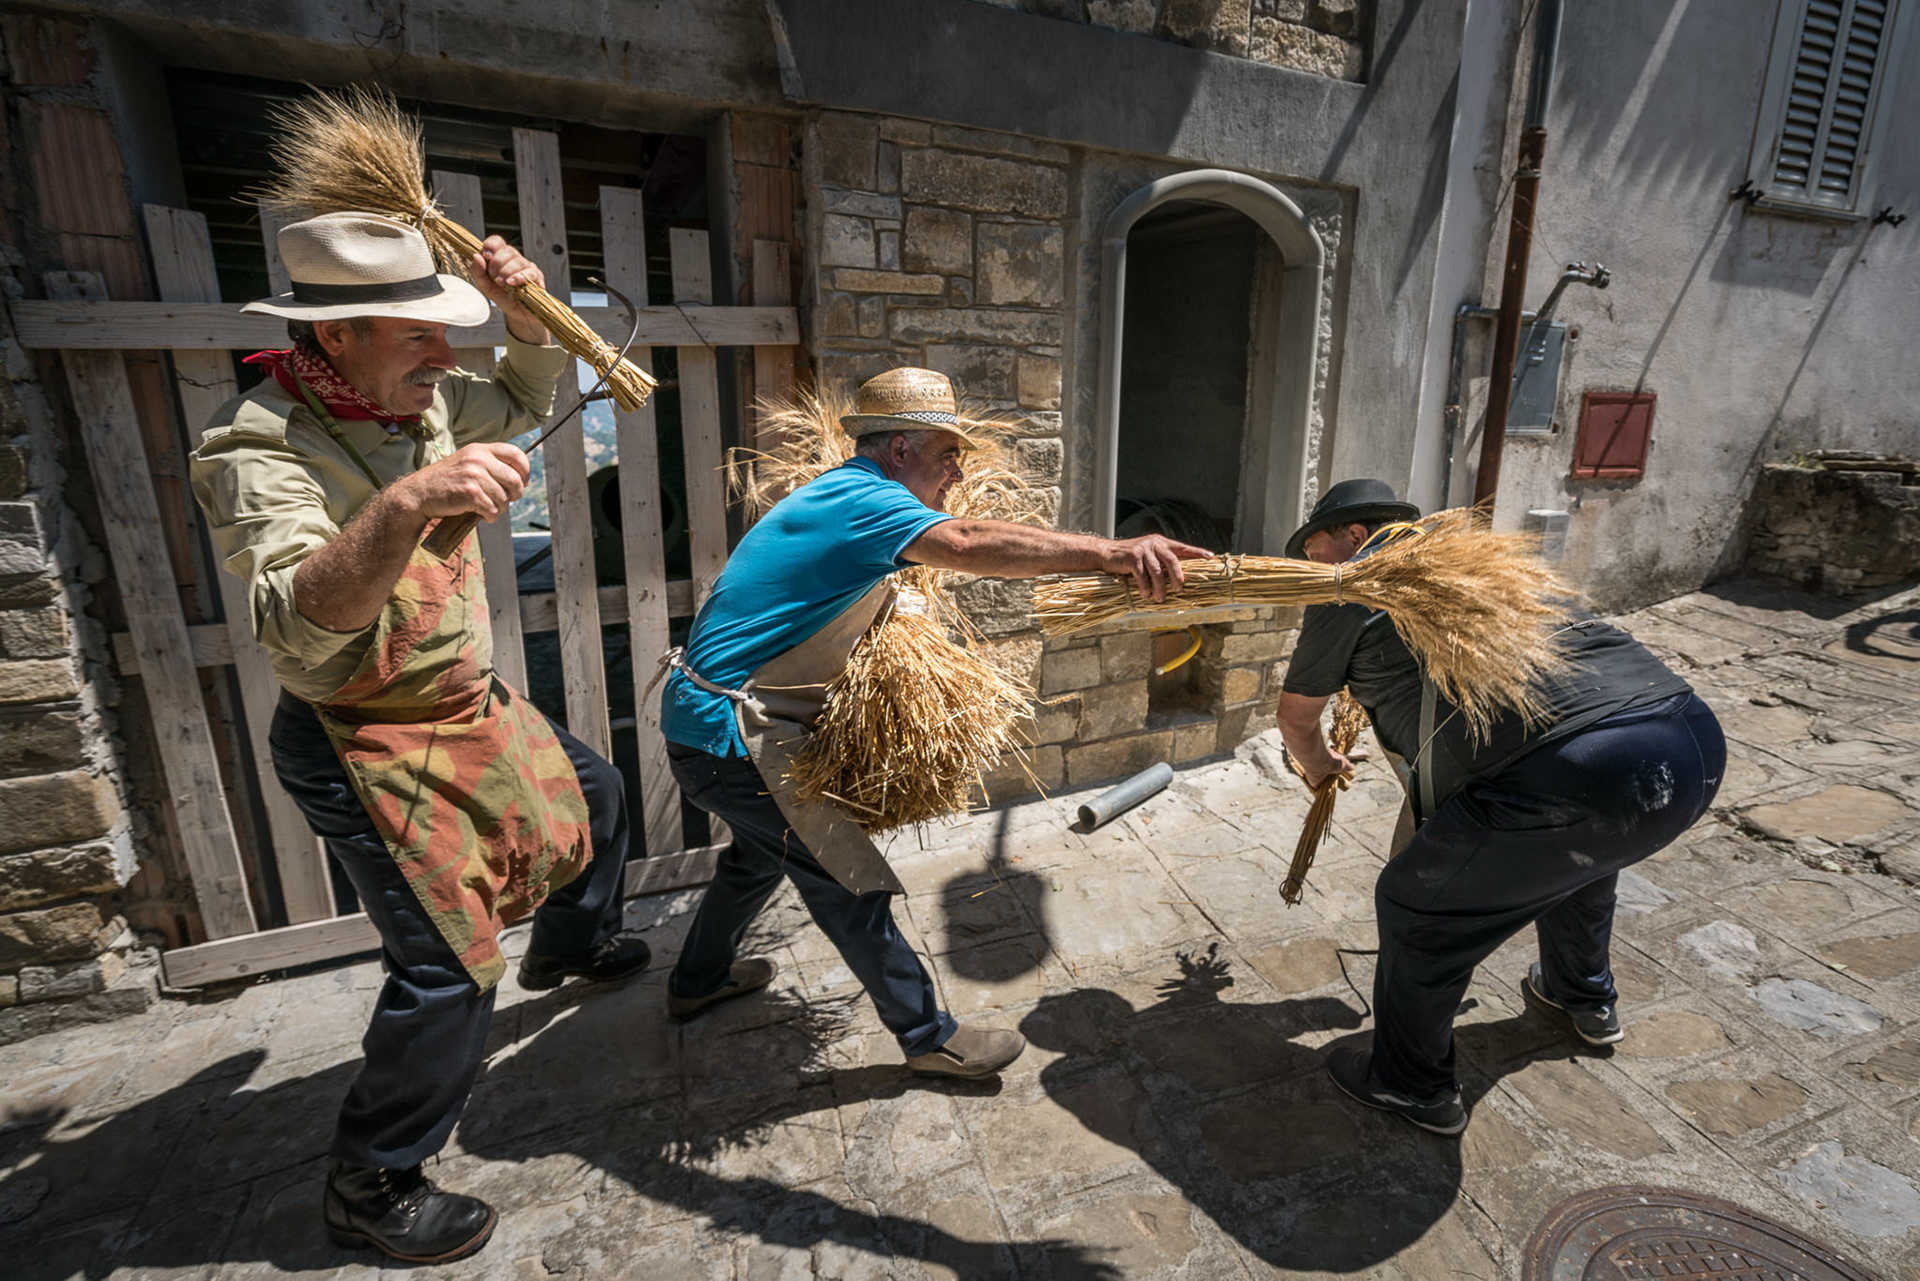
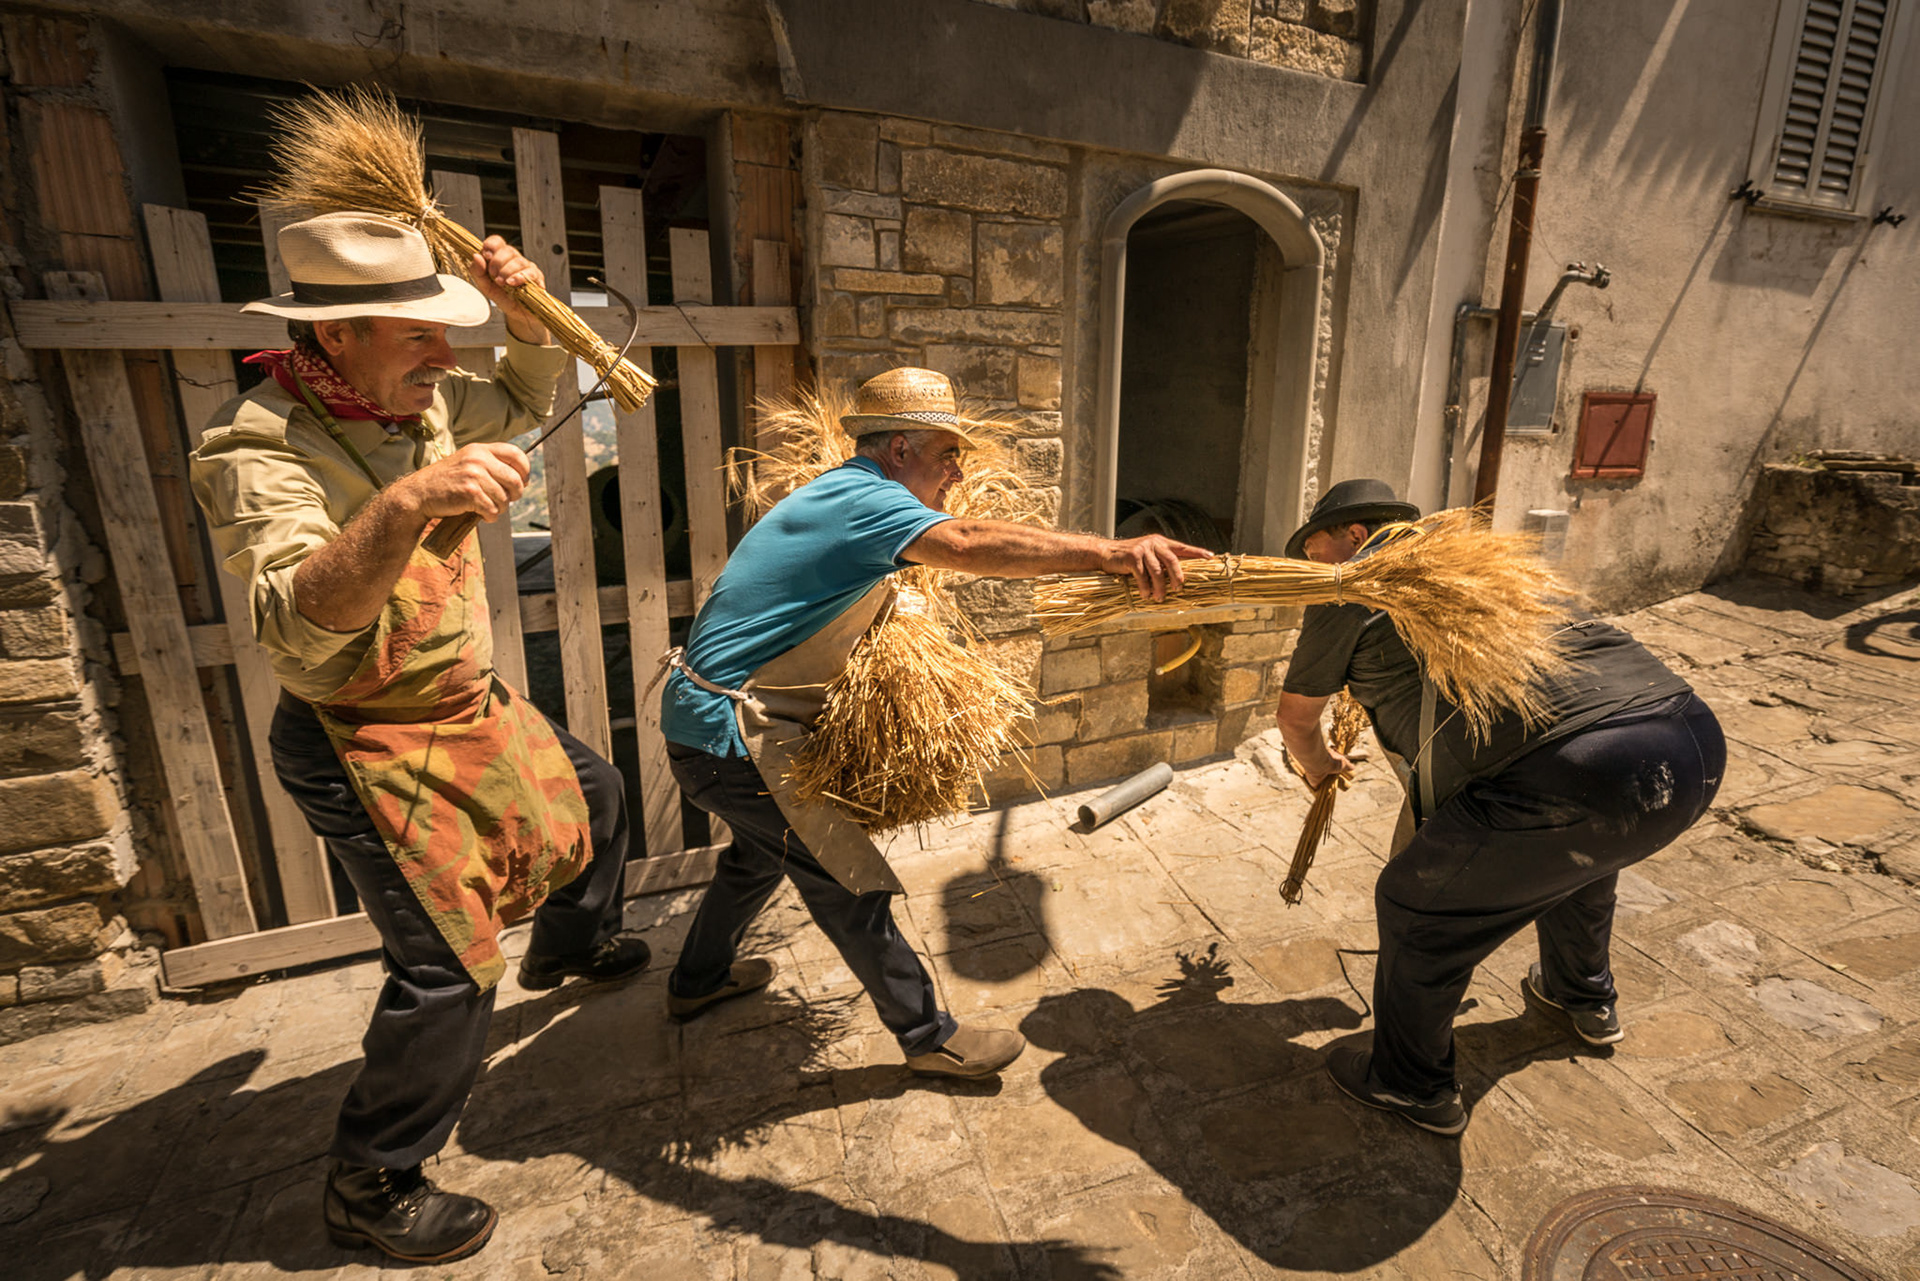
Here I'm using the very harsh light of midday to create a visual parallel between this man's wrinkles and the cracks in the building behind him

See how the sun in this clear sky projects really sharp and hard shadows, contributing to the clean character of the image

In a situation we have seen before, the hard spotlight creates dramatic shadows
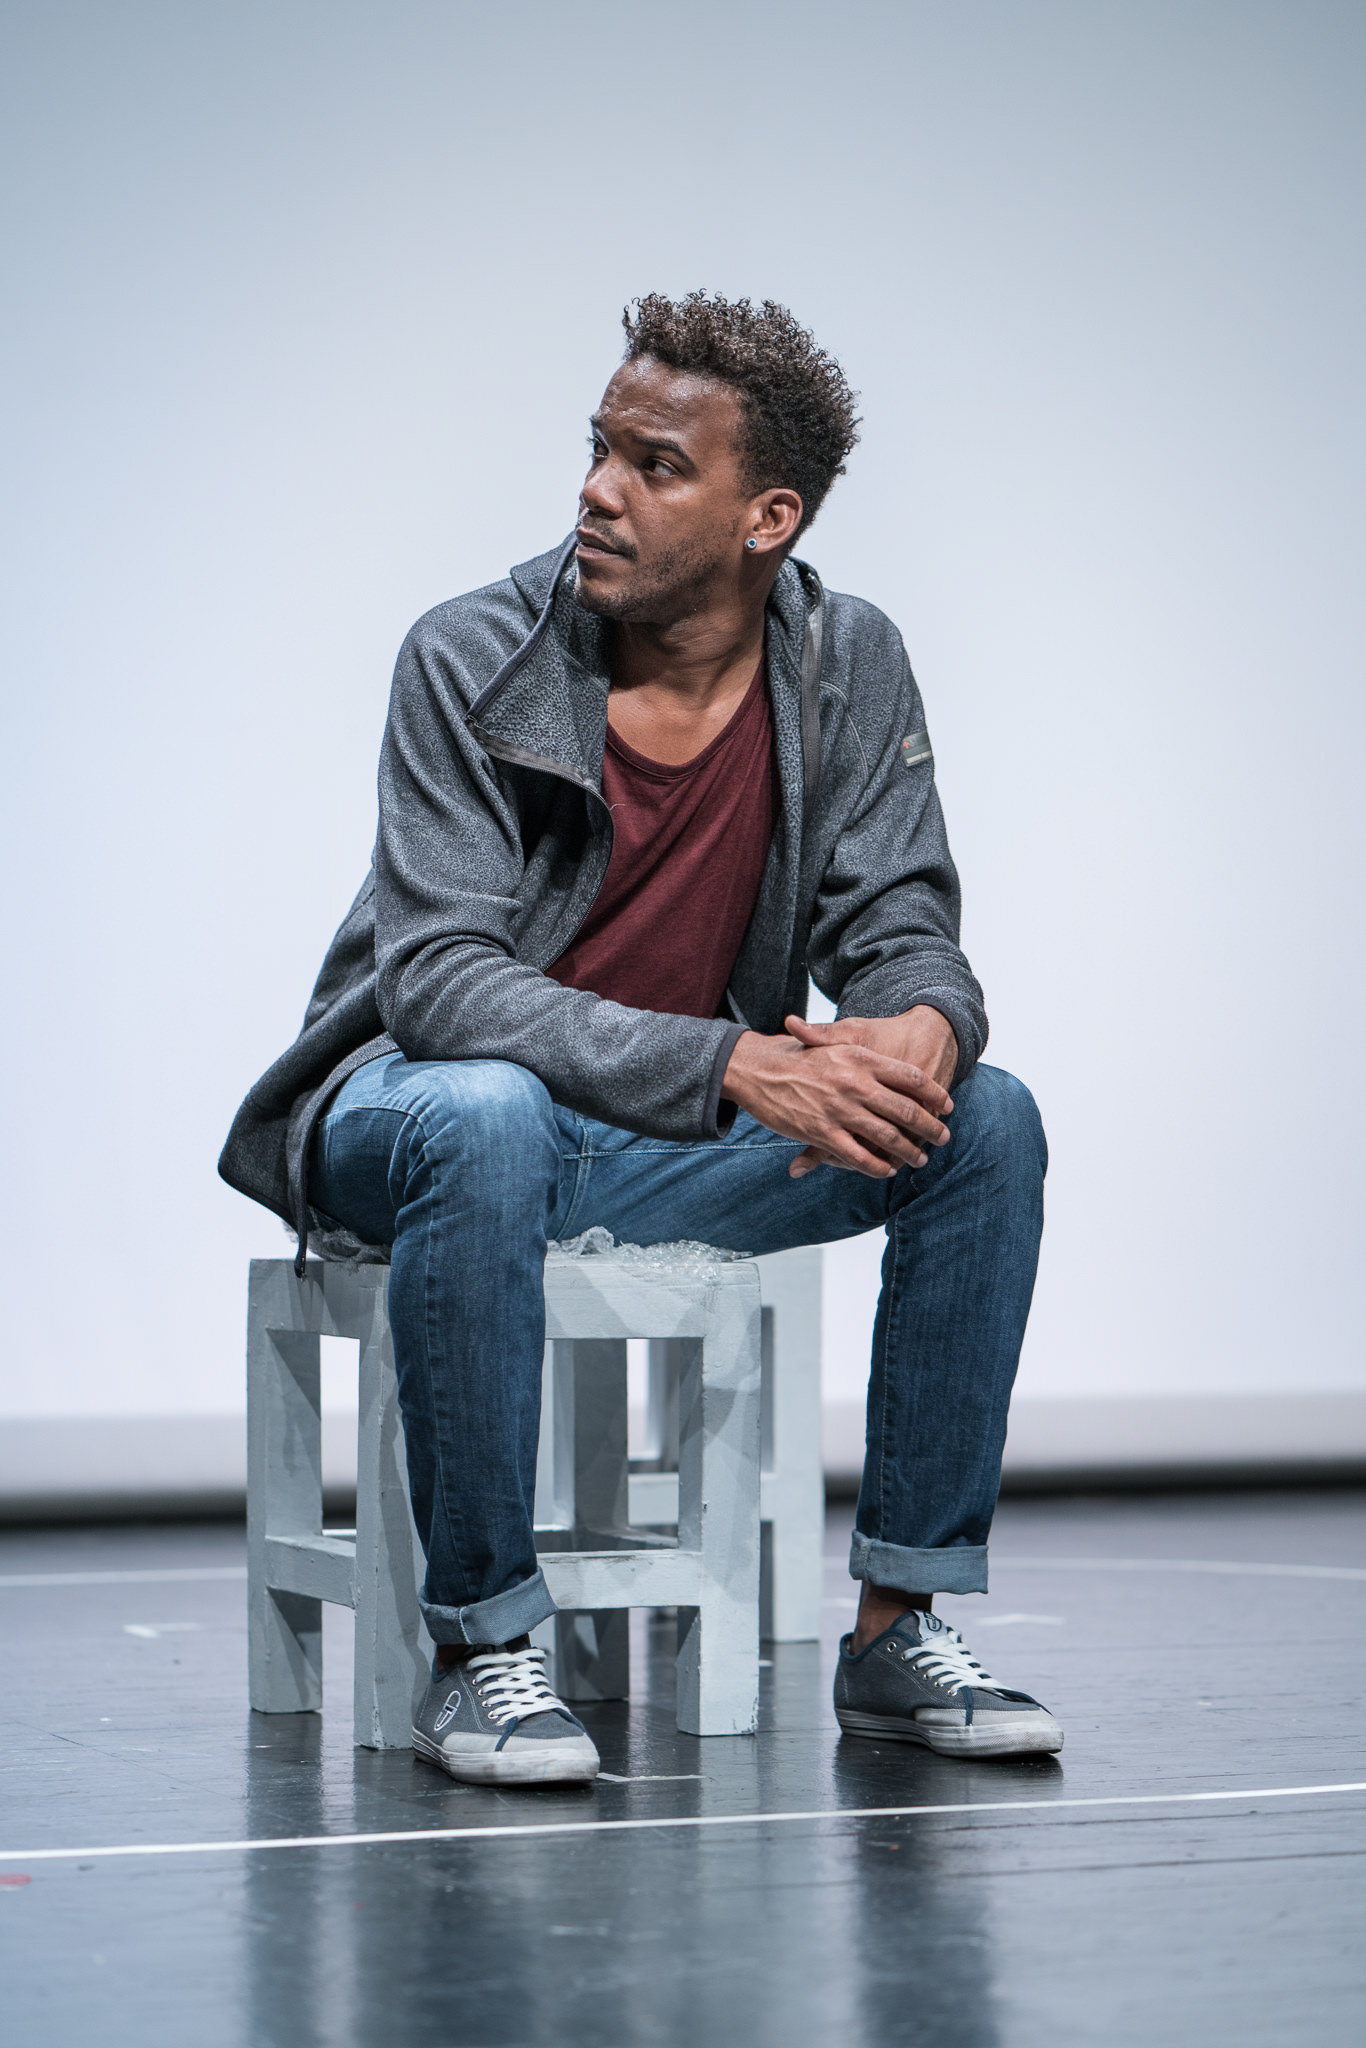
In this moment from the same theatre piece the light is much more diffused and soft, with a completely different effect
Light 1: hard vs. soft
A source of light is called hard when it projects very sharply defined shadows that contrast strongly with the lit portions of the image. Most hard light sources are small in size. Typically, the sun on a clear day is a source of hard light, because even though it is huge it is so far away that all light appears to project from a single point. Artificial sources of hard light include flashes and spotlights.
Soft light projects blurry shadows and creates low contrast between the shadows and the highlights. On a cloudy overcast day you are photographing under the world's largest source of soft light. There will be next to no shadows, in fact. Photographic studios use umbrellas and other diffusers to soften the light of flashes and spotlights.
Consider what a different light can do to your image. It can make it dramatic and harsh (hard) or make everything look dreamy and gentle (soft).
Just to show you the difference: the same photo with daylight (correct) white balance
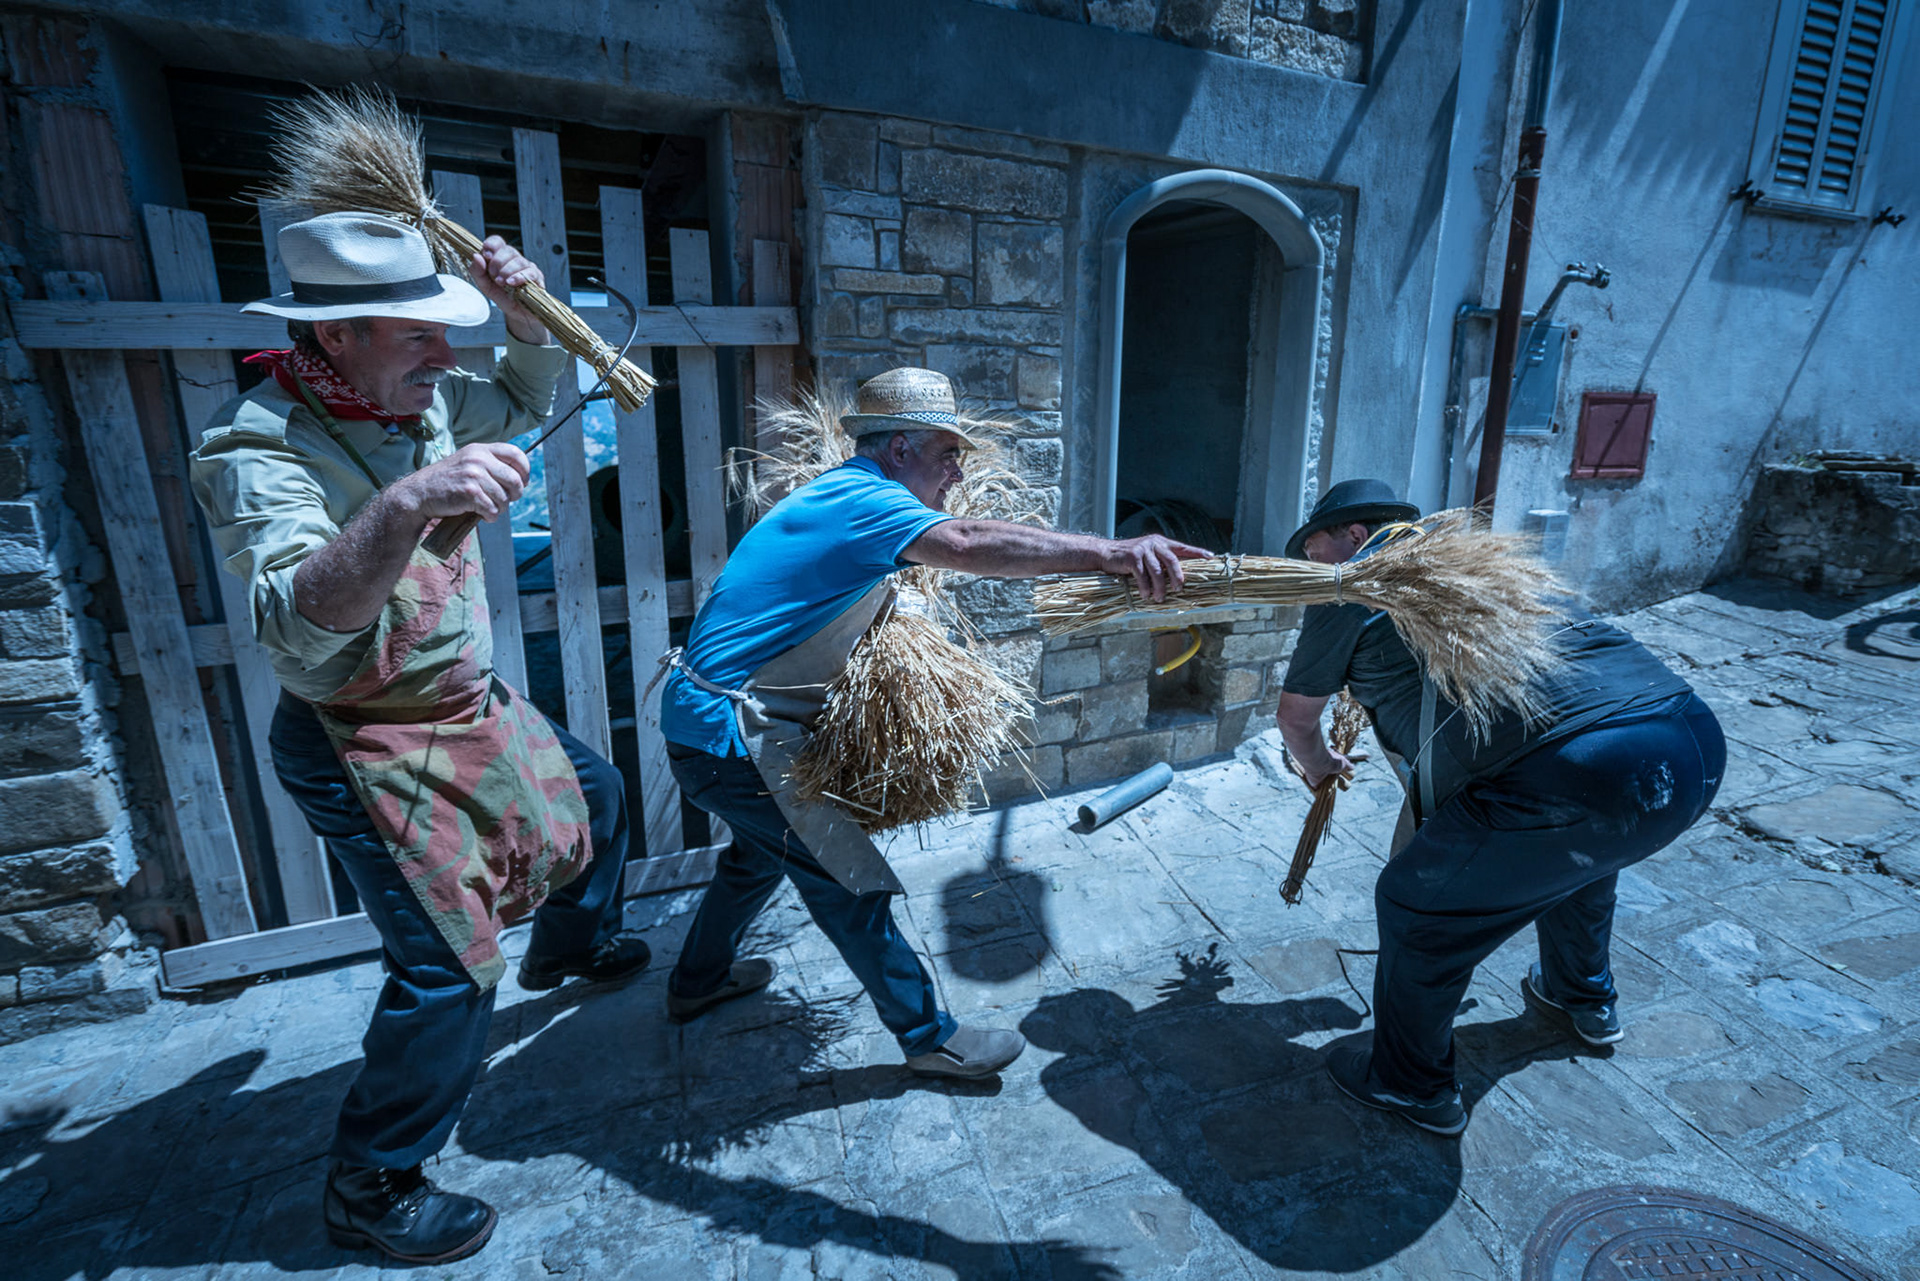
Now with shade white balance, which compensates for blue light
Finally, with Tungsten white balance, which compensates for amber-yellow light
Light 2: white balance
White balance refers to the colour of the light source. A camera can compensate for tint in the light that illuminates your subject, by shifting the colours. Old incandescent lightbulbs are among the warmest (yellowest) sources of light, while modern LEDs can project warm to cold light depending on the model. Sunlight is considered 'neutral' and light filtered by clouds is slightly more blue. Some of the bluest light you can photographs illuminates subjects in the shadow on a clear day, because they receive the blue light from the sky.
You can leave your cameraphone in automatic white balance and see if that works well. Be aware that you can compensate using presets such as Tungsten, Fluorescent (neon), Daylight, Cloudy or Shade.
Exercise for next tutorial:
Engaging the archive: Browse one of these archives [ukphotoarchive.org.uk Carpenter Collection Farm Security Administration Collection] and visually respond to an image of your choice: photographically, you can address it in a different context, respond polemically, subvert it or critique it through the image you will create. The aim is not to re-create the image, but to reference the shift between the context of the time and the present day. It can be done in a very subtle way that doesn't look like the archival image at all.
Create a simple Web Page in Adobe Creative Cloud Express and upload the images there with a brief text. Submit the link on Blackboard 24 hours before next week's tutorial.
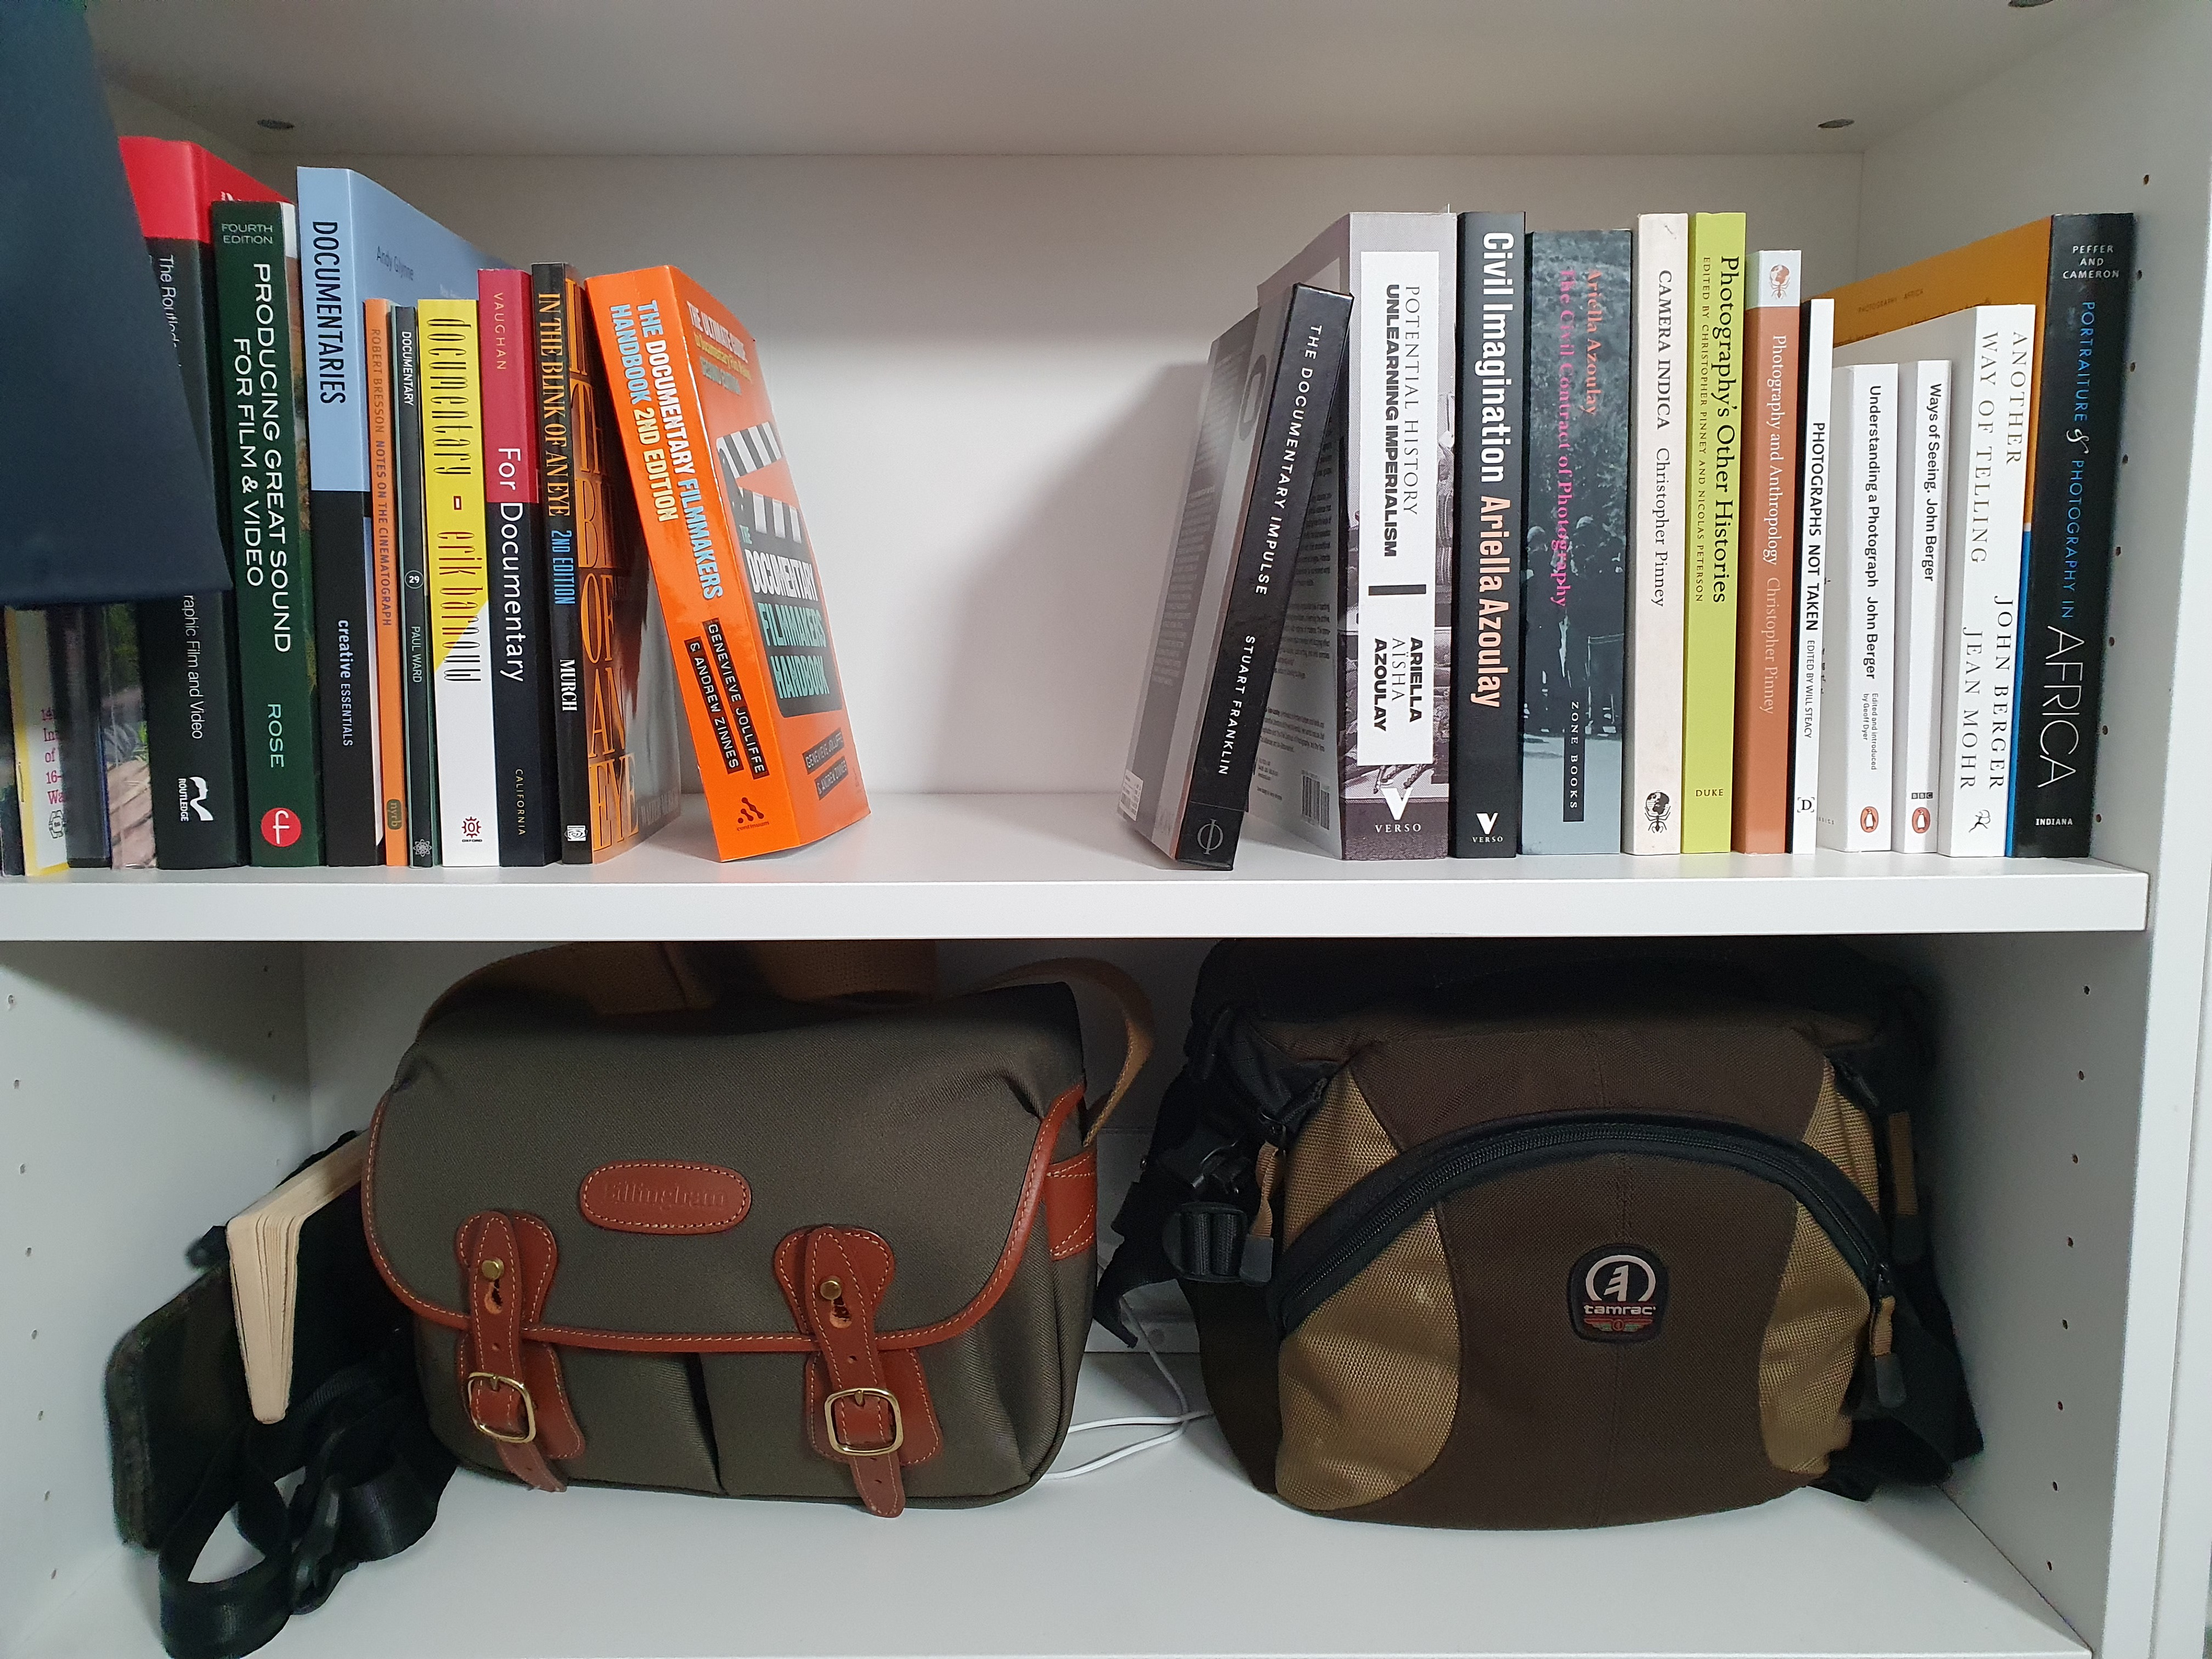
Are you interested in exploring anthropology, photography, documentaries, and sound further?
The MA in Visual Anthropology at the Granada Centre (University of Manchester) brings together critical anthropology with hands-on media practice.